Quick Summary
- This guide explains how to prepare garden for turf properly so your new lawn lasts for years, not months.
- Covers soil preparation, drainage, levelling, and timing — all in plain, practical language.
- Helps you avoid common mistakes that cause patchy, uneven, or failing turf.
- Includes expert tips relevant to Essex gardens and ground conditions.
- Ideal for homeowners planning DIY turfing or booking professional turf installation.
Laying new turf can completely transform a garden, but the real success of a lawn is decided before the turf ever arrives. Understanding how to prepare garden for turf is the difference between a smooth, healthy lawn and one that struggles from day one. Many Essex homeowners work with experienced providers like Turf Supplies Essex because preparation, not just turf quality, plays the biggest role in long-term results. Whether you’re upgrading a tired lawn or starting from bare ground, proper groundwork ensures your investment pays off.
Get in touch on WhatsApp and request your free quote :
This guide walks you through the full preparation process step by step, written in clear, practical terms — the same advice professionals give their own customers.
Why Proper Garden Preparation Matters More Than Turf Choice
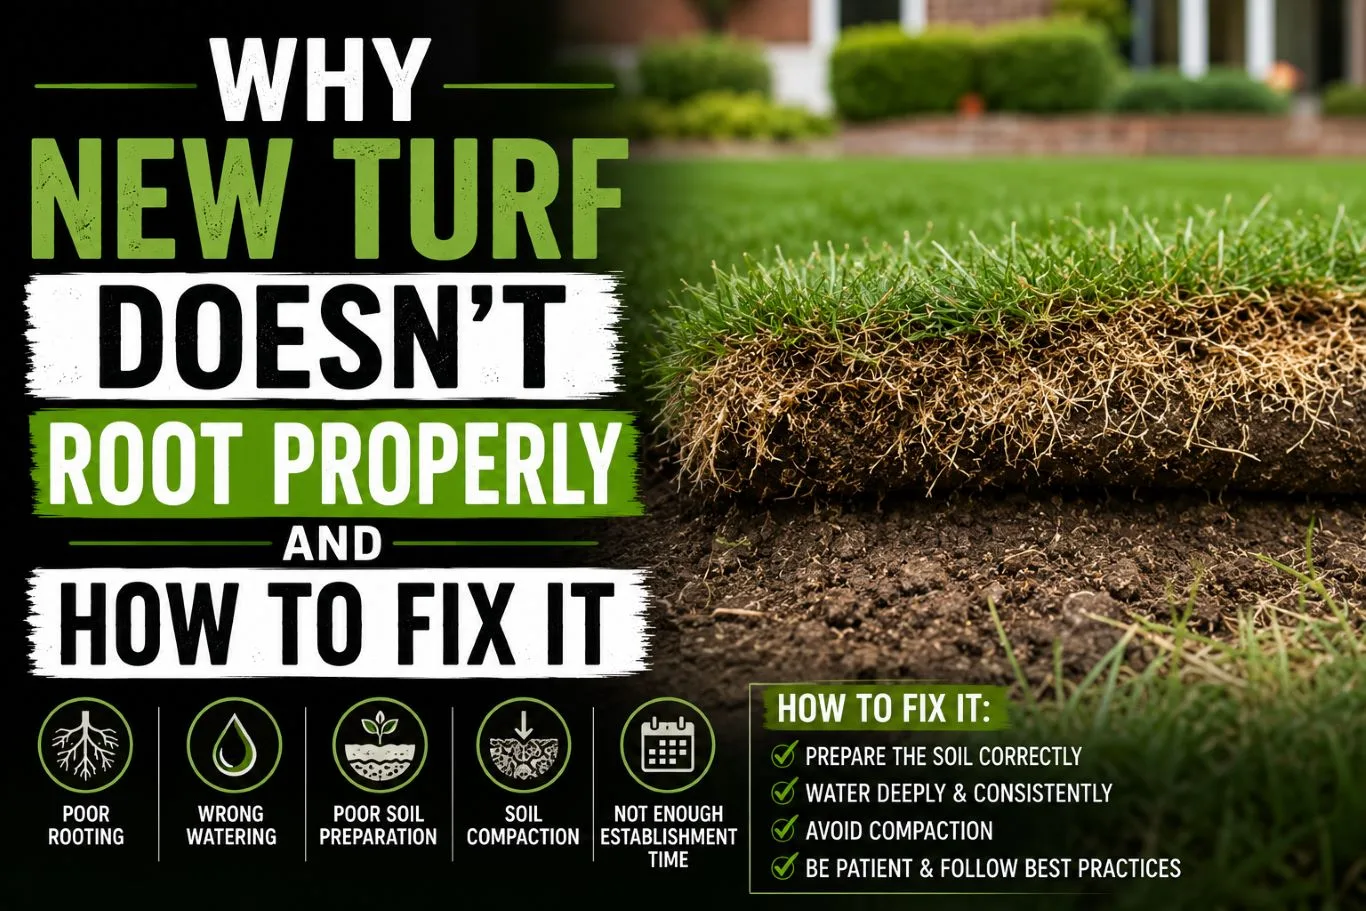
It’s easy to assume that buying good turf guarantees a great lawn. In reality, turf is only as good as the ground beneath it. Poor preparation leads to issues such as:
- Uneven surfaces and dips
- Water pooling or poor drainage
- Weak root establishment
- Yellowing or dying patches
- Weed growth breaking through
Learning how to prepare land for grass properly gives turf the best possible conditions to root, settle, and thrive.
Step 1: Clear the Area Completely
Start with a clean slate. Any existing grass, weeds, stones, roots, or construction debris must be removed.
What to remove:
- Old turf or lawn
- Deep-rooted weeds
- Stones and rubble
- Tree roots and organic waste
This step is often rushed, but leftover material beneath turf causes uneven growth and drainage problems later. A spade or turf cutter works well for most domestic gardens.
Step 2: Check Levels and Drainage
Once cleared, take time to assess the natural slope of your garden. Good drainage prevents waterlogging, which is one of the most common causes of turf failure.
Key points:
- Gardens should slope gently away from buildings
- Low spots should be filled
- High spots should be reduced, not just covered
Standing water after rain is a sign drainage needs improving before turfing.
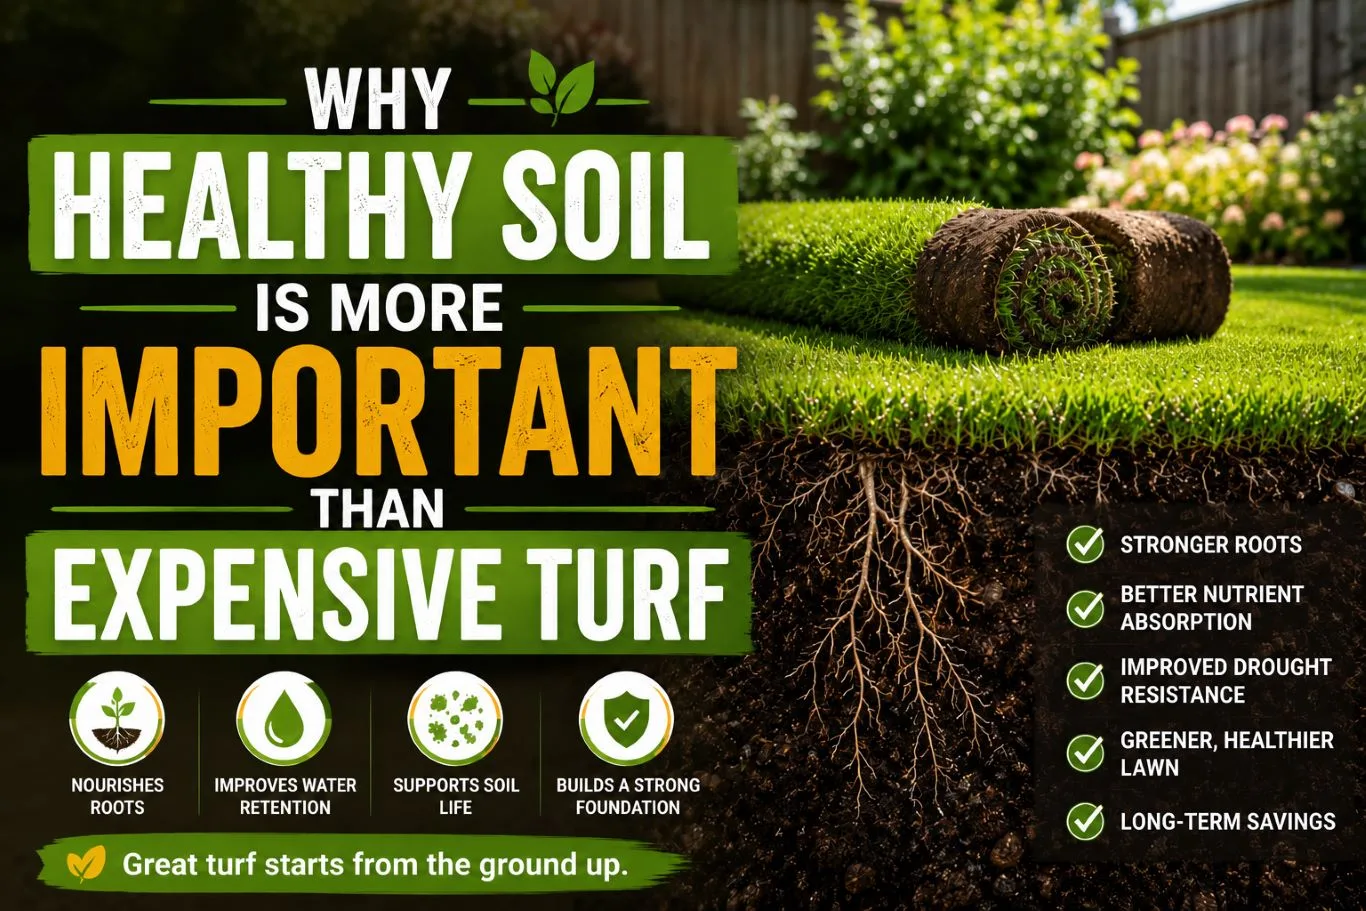
Step 3: Improve the Soil Structure
Most Essex gardens benefit from soil improvement before turf is laid. Heavy clay soil holds water, while sandy soil drains too quickly and lacks nutrients.
Using quality topsoil
Adding agriculture screened premium grade top soil helps create a consistent, fertile base. This type of soil is finely screened, stone-free, and ideal for turfing because it allows roots to spread easily while retaining moisture.
Spread topsoil evenly across the area, usually to a depth of 50–100mm depending on existing conditions.
Step 4: Break Up and Mix the Soil
Don’t just lay topsoil on the surface. It needs to be mixed lightly into the existing ground.
Why this matters:
- Prevents layering (which stops roots penetrating)
- Improves water movement
- Creates a stronger root zone
Use a fork or rotavator to break up compacted soil and blend layers together.
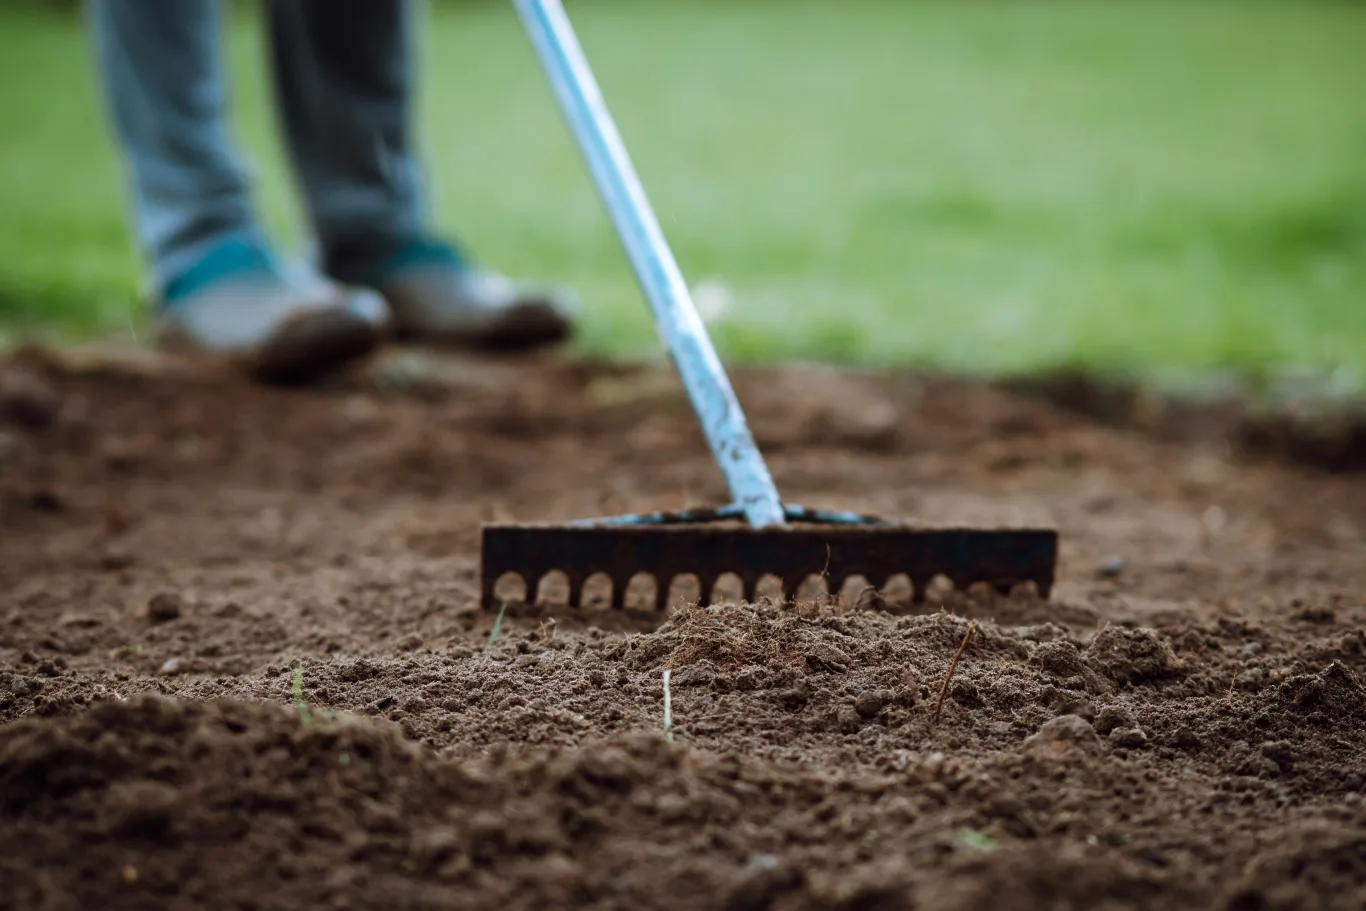
Step 5: Firm and Level the Ground Properly
This step is often misunderstood. Soil needs to be firm, but not compacted solid.
Correct technique:
- Lightly tread the soil using your heels
- Use a rake to level the surface
- Repeat until the ground is even and stable
If you walk across the soil and leave deep footprints, it’s too soft. If it feels like concrete, it’s too hard.
Step 6: Create a Fine, Smooth Finish
Rake the surface to create a fine tilth (small, crumb-like texture). This helps turf roots make immediate contact with the soil.
Remove:
- Stones
- Clumps
- Visible organic matter
The smoother the finish, the better the turf will settle.
Step 7: Plan for Edges and Borders
Before turf arrives, define your lawn edges clearly. This prevents movement and creates a neat finish.
Common edge solutions:
- Garden edging
- Path borders
- Raised beds
- Natural lawn curves
If your garden includes borders or paths, consider using wood chippings around planted areas. They help suppress weeds, retain moisture, and give a clean visual contrast to new turf.
Step 8: Timing Matters More Than You Think
Turf can be laid most of the year, but preparation timing affects results.
Best conditions:
- Mild temperatures
- Moist (not frozen or waterlogged) soil
- Avoid extreme heat or drought
Professional services offering turf delivery across Essex usually schedule installation to match suitable ground conditions, not just availability.
Step 9: Final Checks Before Turf Arrives
Before turf is delivered, run through this checklist:
- Ground level is even
- Soil is firm but workable
- Drainage issues resolved
- Topsoil spread and mixed
- Edges clearly defined
Once turf is delivered, it should be laid immediately. Preparation must already be complete.
Should You Prepare the Garden Yourself or Hire Professionals?
Some homeowners enjoy DIY garden projects, while others prefer expert help — especially for larger or uneven gardens.
Professional turf installation services in Essex typically include:
- Ground clearance
- Soil improvement
- Levelling and preparation
- Turf laying and aftercare advice
Likewise, experienced turf laying services reduce risk and save time, particularly if your garden has drainage challenges or heavy clay soil.
Common Preparation Mistakes to Avoid
Even small errors can affect long-term results.
Avoid:
- Laying turf on dry, dusty soil
- Skipping soil improvement
- Leaving uneven levels
- Ignoring drainage
- Rushing preparation to “get turf down quicker”
Most turf failures trace back to rushed or incomplete groundwork.
FAQs – Preparing Your Garden for Turf
1. How long should garden preparation take before turfing?
For an average garden, proper preparation usually takes one to two days. Larger or more complex gardens may take longer.
2. Do you offer turf preparation and installation across Essex?
Yes, professional providers like Turf Supplies Essex cover preparation and turf installation throughout Essex and surrounding areas.
3. How quickly can turf be installed after preparation?
Once the ground is prepared correctly, turf can be laid immediately — ideally on the same day it’s delivered.
4. Is topsoil always necessary before turfing?
Not always, but most gardens benefit from added topsoil to improve structure, nutrients, and root development.
5. Can preparation be done in winter in Essex?
Yes, as long as the ground isn’t frozen or waterlogged. Proper timing and conditions matter more than the season.
Final Thoughts
Learning how to prepare garden for turf properly is the most important step in creating a lawn that looks good and lasts. From clearing and levelling to improving soil and planning drainage, preparation sets the foundation for everything that follows. Whether you’re tackling the work yourself or working with professionals, taking the time to get this stage right saves money, effort, and frustration later.
For homeowners who want reliable advice, quality materials, and professional support, Turf Supplies Essex is a trusted choice across the region. If you’re searching for turf suppliers near me or turf layers near me, starting with proper preparation — and the right people — ensures your new lawn gets the strong start it deserves.